

Scroll down to see the video, Like & Follow!
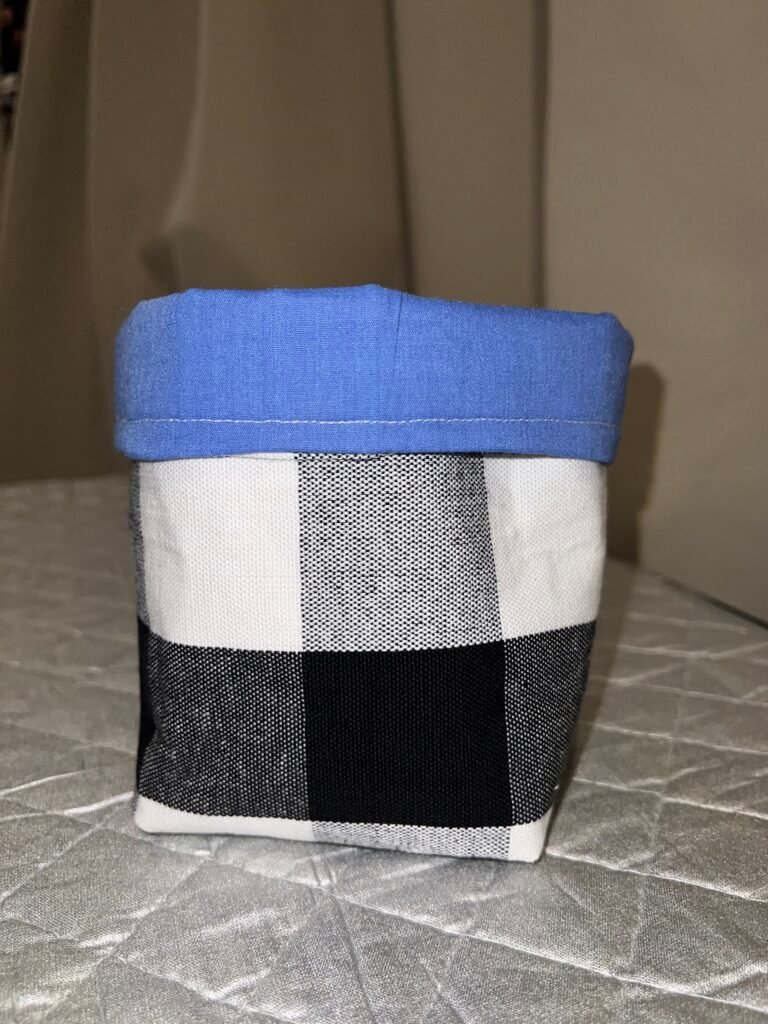
A fabric bucket is a versatile sewing project that works great for storage, gift baskets, organization, or décor. This tutorial is beginner‑friendly and creates a sturdy, reusable fabric bucket with a flat bottom.
Finished Size (Approximate)
- 8 in diameter x 9 in tall
You can easily resize the bucket by adjusting the width or height of the fabric pieces.
As an Amazon Associate I earn from qualifying purchases.
Materials & Supplies Needed
Fabric
- Plaid Exterior fabric: 1 piece, 12 in x 28 in
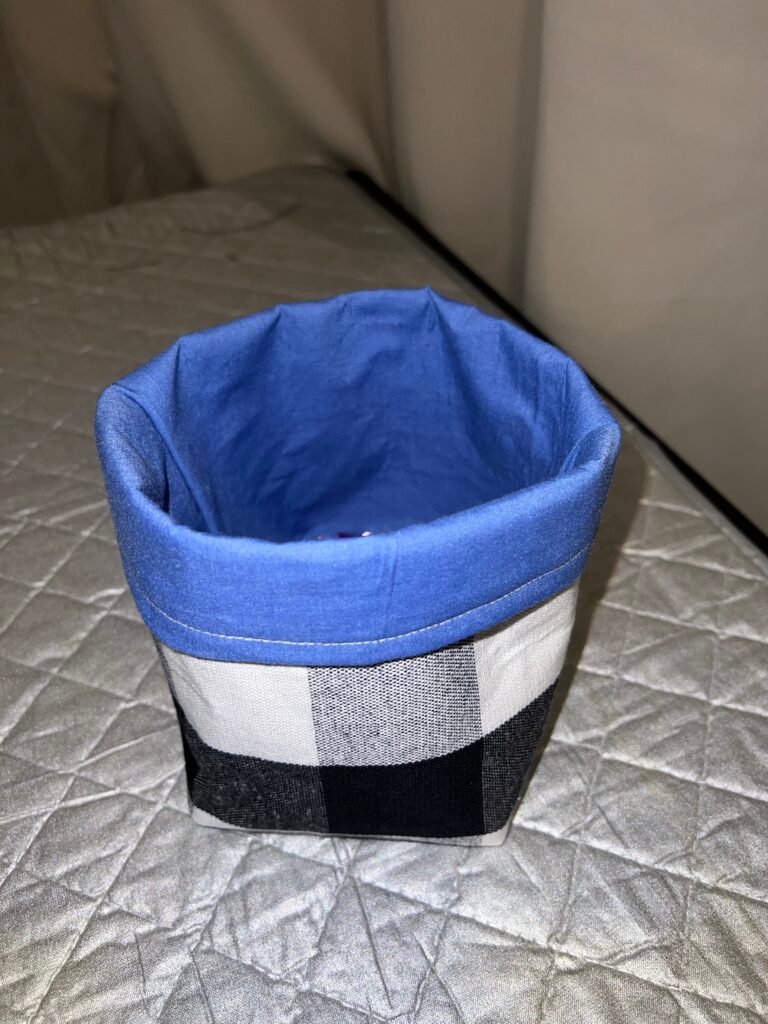
(Canvas, home‑decor fabric, or quilting cotton) - Blue Lining fabric: 1 piece, 12 in x 28 in
Optional Interfacing (Recommended for Structure)
- Fusible interfacing: 1 piece, 12 in x 28 in
(Medium‑weight for a firm bucket)
Thread & Notions
- All‑purpose sewing thread (I used white)
- Fabric scissors or rotary cutter
- Pins or sewing clips (Clips are my favorite to use)
- Measuring tape or ruler
- Fabric marking pen or chalk (Love this chalk pen!)
- Iron (or Mini iron!) and ironing pad
- Seam ripper (optional)
Sewing Machine Supplies
- Sewing machine
- Universal needle (size 80/12 recommended)
Step‑by‑Step Instructions
Step 1: Cut & Prepare Fabric
- Cut exterior and lining fabric according to measurements.
- If using interfacing, fuse it to the wrong side of the exterior fabric following the manufacturer’s instructions.
- Press all pieces flat.
Step 2: Sew the Exterior Bucket
- Fold the exterior fabric right sides together, matching short edges.
- Sew the short edges together using a ½ in seam allowance to form a tube.
- Press the seam open.
Step 3: Create the Bottom
- With the tube still inside out, flatten it so the side seam is centered.
- Sew straight across one open end using a ½ in seam allowance.
- This seam will form the bottom of the bucket.
Step 4: Box the Corners (Flat Base)
- At one bottom corner, pinch the fabric so the side seam and bottom seam align.
- Measure 2 in from the point and draw a line across.
- Sew along the line.
- Trim excess fabric, leaving ¼ in seam allowance.
- Repeat for the other bottom corner.
Step 5: Sew the Lining
- Repeat Steps 2–4 with the lining fabric.
- Leave a 3–4 in opening in the bottom seam of the lining for turning later.
Step 6: Join Exterior & Lining
- Turn the exterior bucket right side out.
- Keep the lining inside out.
- Place the exterior inside the lining, right sides together.
- Align top raw edges and side seams.
- Pin or clip all the way around.
- Sew around the top edge using a ½ in seam allowance.
Step 7: Turn & Close Opening
- Pull the bucket right side out through the lining opening.
- Stitch the lining opening closed using a straight stitch or ladder stitch.
- Push the lining inside the bucket and shape the corners neatly.
Step 8: Finish the Top Edge
- Press the top edge flat.
- Topstitch ¼ in from the top edge all the way around for a clean finish.
Optional Customizations
- Add handles or fabric loops
- Use contrasting lining fabric
- Make multiple sizes for nesting storage
- Add a label or embroidery
Time & Skill Level
- Time: 45–60 minutes
- Skill level: Beginner
Final Thoughts
Fabric buckets are quick to sew and endlessly useful. They’re perfect for organizing sewing supplies, toys, toiletries, or for creating thoughtful handmade gifts.
Happy sewing!
Like & Follow on Tiktok, below!
@bstitched Sew a fabric basket with me! #sewing #fyp #sewingideas #sewingtiktok #sewingtutorial ♬ original sound – user16167570890