
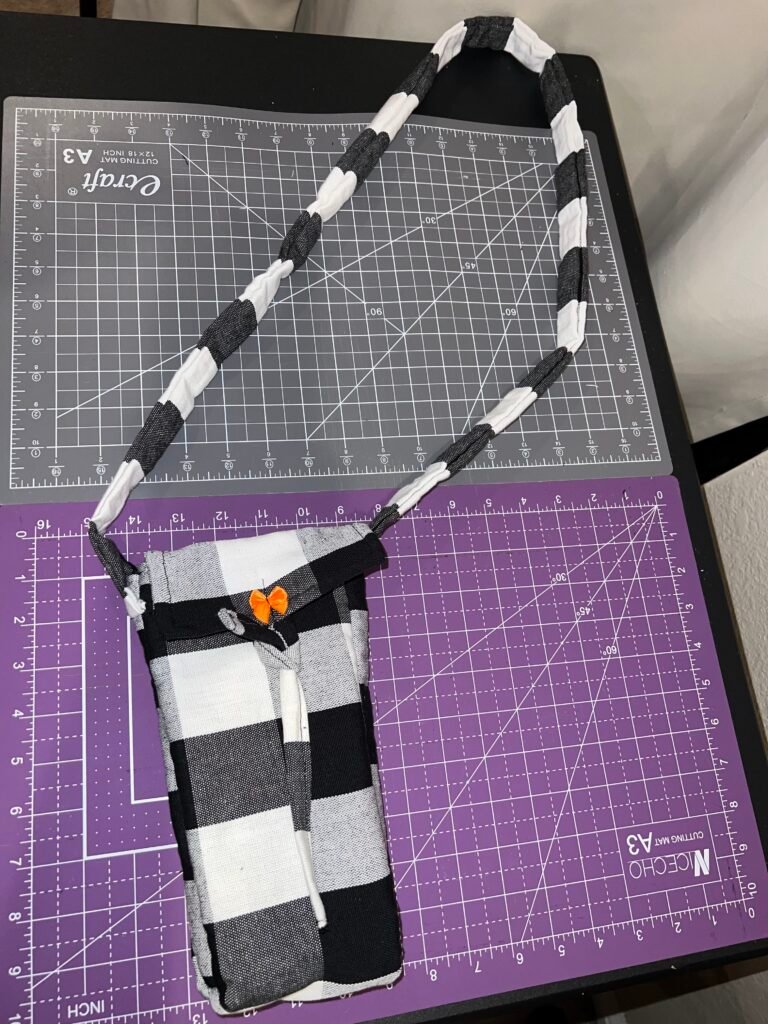
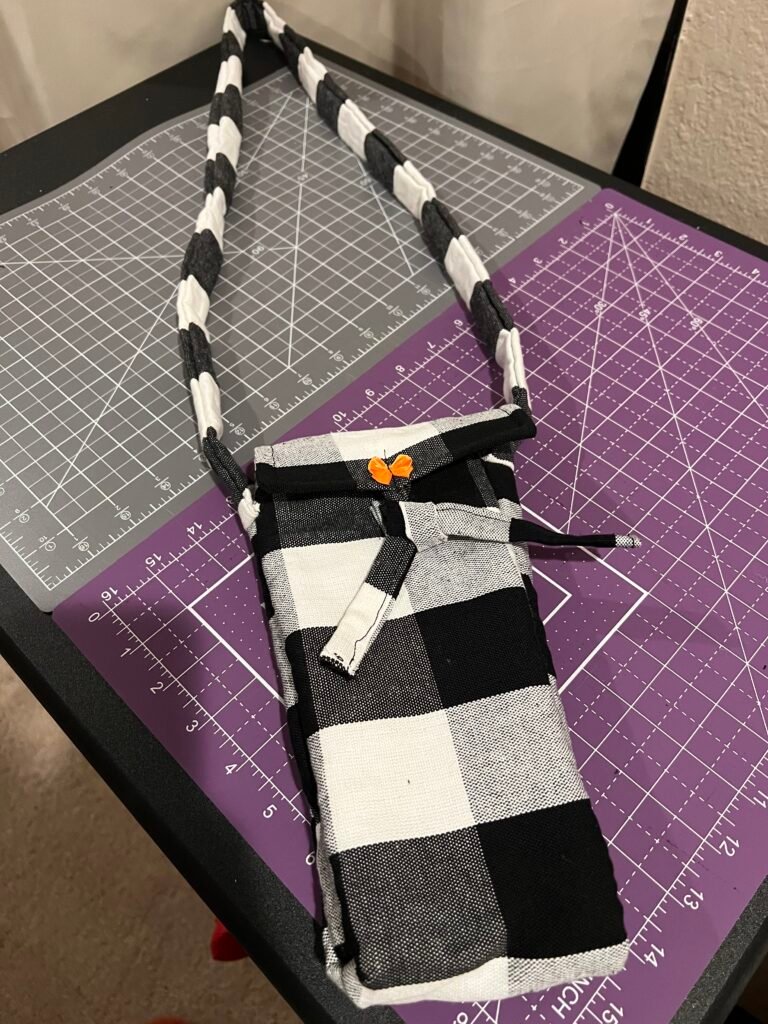
A small over-the-shoulder bag is a practical, beginner-friendly sewing project. It’s perfect for everyday essentials like a phone, wallet, and keys, and it makes a great handmade gift or craft-fair item. This tutorial shows how to sew a simple lined shoulder bag with a strap.
Finished Size (Approximate)
- 9 in wide x 7 in tall
- Strap length: 45–50 in (adjustable to preference)
Materials & Supplies Needed
As an Amazon Associate I earn from qualifying purchases.
Fabric
- Exterior fabric: 2 pieces, 10 in x 8 in
(Canvas, denim, or quilting cotton) - Lining fabric: 2 pieces, 10 in x 8 in
Optional Interfacing (Recommended)
- Fusible interfacing: 2 pieces, 10 in x 8 in
(Adds structure and durability)
Strap
Choose one option:
- Fabric strap: 1 strip, 4 in x 50 in
- OR cotton webbing: 1 piece, 45–50 in long
Closure (Optional)
- Magnetic snap, button, or Velcro
Thread & Notions
- All-purpose sewing thread
- Fabric scissors or rotary cutter
- Pins or sewing clips
- Measuring tape or ruler
- Fabric marking pen or chalk
- Iron and ironing board
- Seam ripper (optional)
Sewing Machine Supplies
- Sewing machine
- Universal needle (size 80/12 recommended)
Step-by-Step Instructions
Step 1: Cut & Prepare Fabric
- Cut all fabric, interfacing, and strap pieces according to measurements.
- Fuse interfacing to the wrong side of the exterior fabric following manufacturer instructions.
- Press all pieces flat.
Step 2: Make the Strap (If Using Fabric)
- Fold the strap lengthwise in half, right sides together.
- Sew along the long edge using a ¼ in seam allowance.
- Turn the strap right side out.
- Press flat with the seam centered on the back.
- Topstitch along both long edges for strength.
Skip this step if using pre-made webbing.
Step 3: Attach Strap to Exterior
- Place exterior fabric pieces right side up.
- Position strap ends at the top corners, raw edges aligned with the top edge.
- Make sure the strap is not twisted.
- Baste strap ends in place using a ⅛ in seam allowance.
Step 4: Sew Exterior Bag
- Place exterior pieces right sides together.
- Sew around the sides and bottom using a ½ in seam allowance.
- Leave the top edge open.
Step 5: Sew Lining
- Place lining pieces right sides together.
- Sew around the sides and bottom using a ½ in seam allowance.
- Leave a 3–4 in opening along the bottom edge for turning.
Step 6: Box the Bottom Corners (Optional)
- Pinch each bottom corner so side seam aligns with bottom seam.
- Measure 1 in from the point and sew straight across.
- Trim excess fabric.
- Repeat for lining.
Step 7: Join Exterior & Lining
- Turn the exterior bag right side out.
- Keep the lining inside out.
- Place the exterior inside the lining, right sides together.
- Align top edges and side seams; pin.
- Sew around the top edge using a ½ in seam allowance.
Step 8: Turn & Close
- Pull the bag right side out through the lining opening.
- Stitch the lining opening closed.
- Push lining into the bag and shape corners neatly.
Step 9: Finish the Top Edge
- Press the top edge flat.
- Topstitch ¼ in from the top edge around the entire bag.
Optional Customizations
- Add an inside pocket
- Install a zipper or snap closure
- Adjust strap length for crossbody wear
- Use contrasting lining fabric
Time & Skill Level
- Time: 45–60 minutes
- Skill level: Beginner
Final Thoughts
This small over-the-shoulder bag is a great project for building confidence and creating something functional and stylish. Once you master it, you can easily modify the size, fabric, and features.
Happy sewing! ✂️👜