

Scroll down to see the video, Like & Follow!
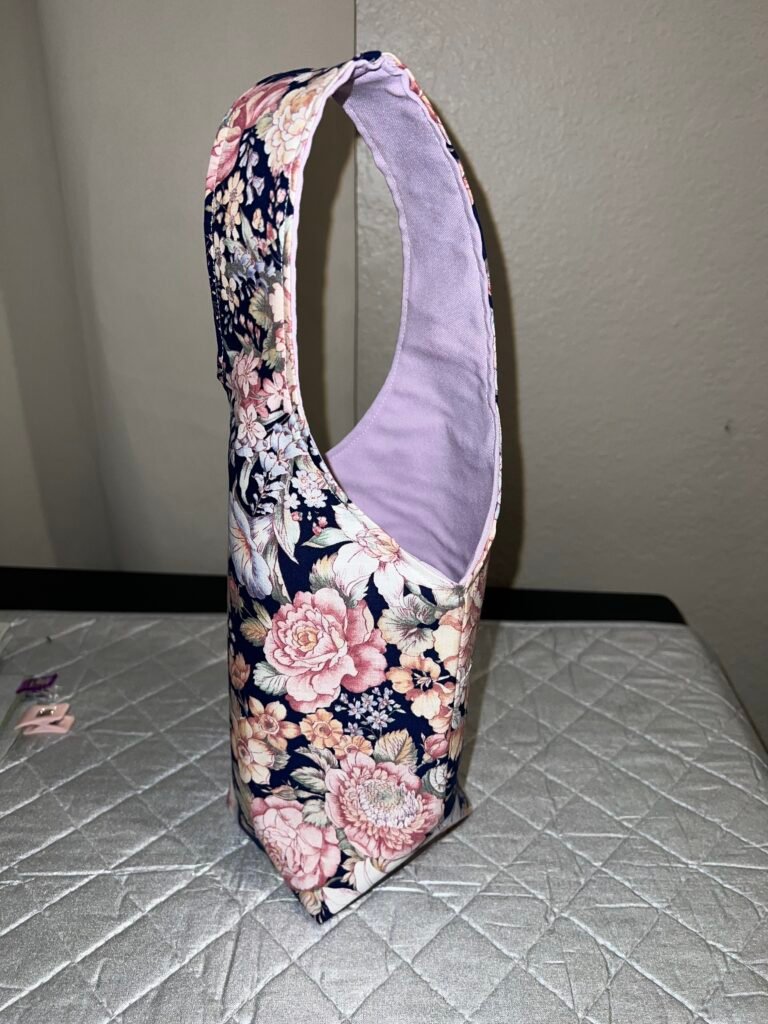
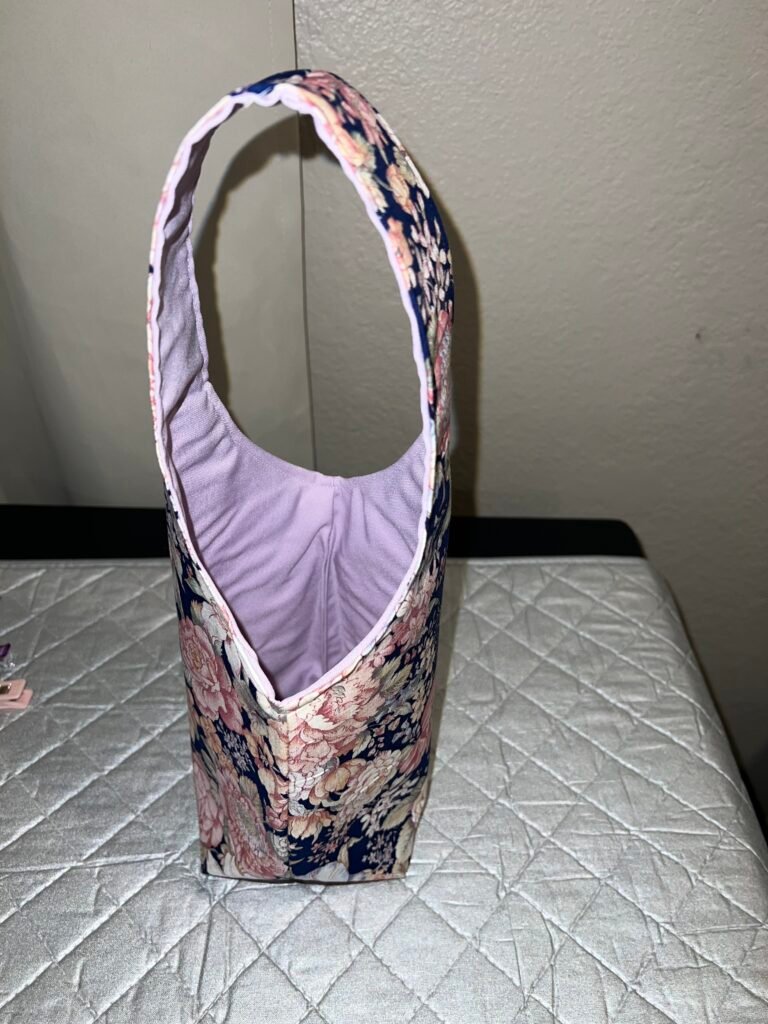
A handmade wine bag is a thoughtful, reusable alternative to disposable gift wrap. This beginner‑friendly project is quick to sew, requires minimal fabric, and can be customized for holidays, weddings, or everyday gifting. This tutorial walks you through everything you need—from supplies to final pressing.
Finished Size
- Fits a standard 750 ml wine bottle
- Approximate finished size: 4 in wide x 13 in tall x 3 in deep
Materials & Supplies (Detailed List)
As an Amazon Associate I earn from qualifying purchases.
Fabric
- Exterior fabric: 1 piece, 14 in x 18 in (I couldn’t find the exact fabric, but this one is beautiful: Floral Fabric)
(Cotton quilting fabric, canvas, or linen work well) - Lining fabric: 1 piece, 14 in x 18 in
(Cotton quilting fabric recommended)
Tip: Heavier fabrics give a more structured bag. If using lightweight cotton, consider interfacing.
Optional Interfacing
- Medium‑weight fusible interfacing: 1 piece, 14 in x 18 in
(Adds structure and durability)
Handles (Choose One Option)
- Fabric handles:
- 2 strips, 4 in x 12 in (cut from exterior fabric)
- OR pre‑made handles:
- Cotton webbing or ribbon, 2 pieces at 12 in each
Thread & Notions
- All‑purpose sewing thread
- Fabric scissors or rotary cutter
- Pins or sewing clips
- Measuring tape or ruler
- Fabric marking pen or chalk
- Iron and ironing board
- Seam ripper (optional)
Sewing Machine Supplies
- Sewing machine
- Universal needle (size 80/12 recommended)
Step‑by‑Step Guide
Follow these clear, beginner‑friendly steps to sew the wine bag shown.
1. Cut & Prep
- Cut 1 exterior and 1 lining piece: 14 in x 18 in each.
- (Optional) Fuse interfacing to the wrong side of the exterior.
- Press all pieces flat.
2. Make the Handles (If Using Fabric)
- Cut 2 strips: 4 in x 12 in.
- Fold lengthwise, right sides together; sew long edge.
- Turn right side out, press, and topstitch both long edges.
3. Attach Handles
- Place exterior right side up.
- Position handle ends 3 in from each side edge, raw edges aligned to the top.
- Handles should point downward.
- Baste in place.
4. Sew Side Seams
- Fold exterior right sides together; sew both side seams (½ in).
- Repeat for lining, leaving a 3–4 in turning opening in one side seam.
5. Box the Bottom Corners
- With bag inside out, align side seam with bottom seam at each corner.
- Measure 1½ in from the point; sew straight across.
- Trim excess. Repeat for exterior and lining.
6. Join Lining & Exterior
- Turn exterior right side out.
- Keep lining inside out.
- Place exterior inside lining, right sides together.
- Align seams and top edges; sew around the top (½ in).
7. Turn & Close
- Pull the bag through the lining opening.
- Stitch the lining opening closed.
- Push lining into bag and shape corners.
8. Finish
- Press the top edge.
- Topstitch ¼ in from the top all the way around.
Your wine bag is complete—reusable, sturdy, and gift‑ready.
Happy sewing!
Like & Follow!
@bstitched Sew a wine gift bag with me! #sewing #fyp #wine #sewingtiktok #sewingtutorial ♬ original sound – Lily🤍