
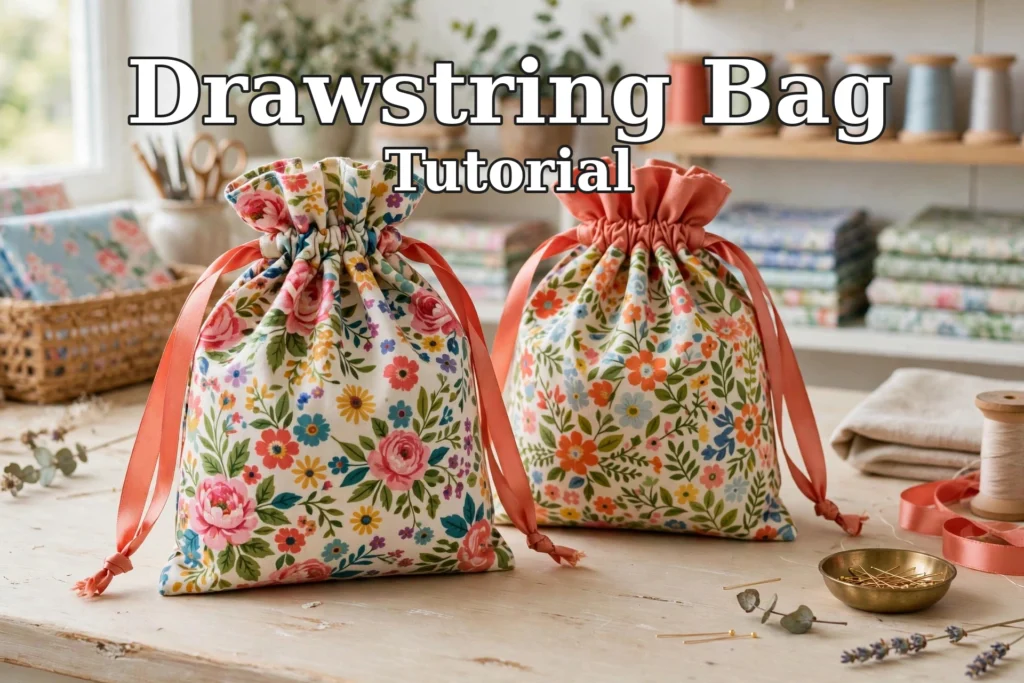
A drawstring bag is a perfect beginner project — just a few straight seams and you’ve got a reusable gift bag, toy pouch, or travel organizer. Once you learn this technique, you’ll want to make them in every size.
Finished Size (Approximate)
- About 8 in wide × 10 in tall — a great all-purpose size.
Materials & Supplies Needed
As an Amazon Associate I earn from qualifying purchases.
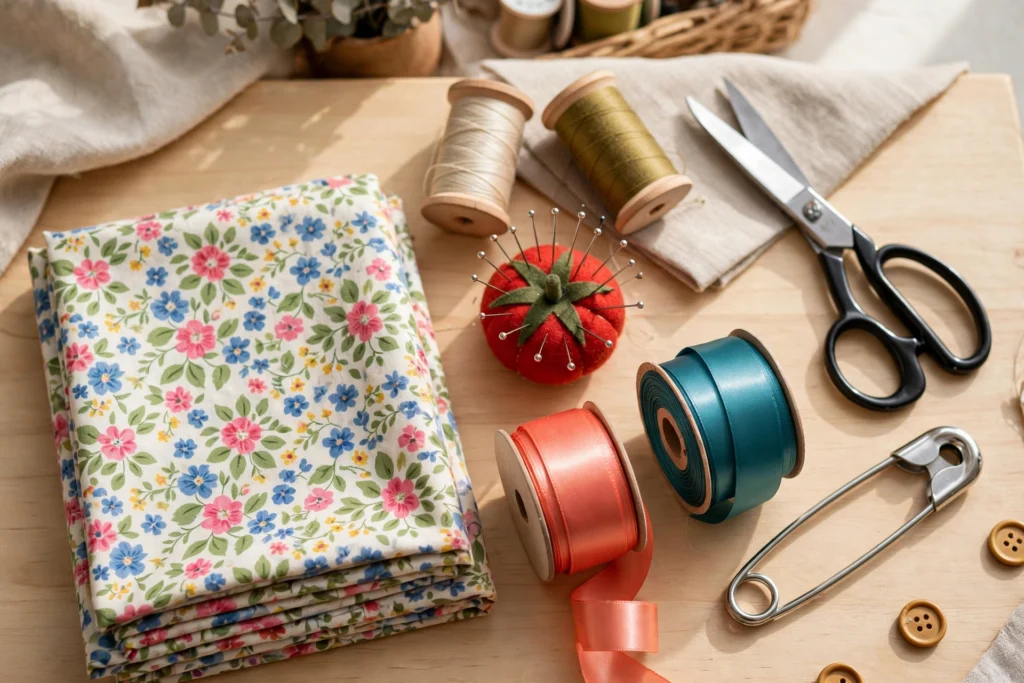
Fabric
- Cotton quilting fabric: ½ yard (44 in wide)
(Cotton quilting fabric is ideal for beginners — it presses crisply and doesn’t slip under the needle.)
Cut List
- Bag body: 2 pieces, 9 in × 12 in each
- Drawstring: 2 pieces of ribbon or cord, 28 in long each
Thread & Notions
- Satin ribbon or cotton cord (⅜–½ in wide) for the drawstring
- All-purpose thread in a matching color
- Fabric scissors or rotary cutter
- Straight pins
- Measuring tape or ruler
- Fabric chalk or marker
- Large safety pin (for threading the drawstring)
- Seam ripper (optional, for fixing mistakes)
Sewing Machine Supplies
- Sewing machine
(A basic machine with a straight stitch is all you need for this project.) - Iron and ironing board
(Pressing as you go is the secret to crisp, professional-looking seams.)
Step-by-Step Instructions
Step 1: Cut Your Fabric
- Prewash, dry, and press your fabric so it won’t shrink later.
- Measure and mark two rectangles, 9 in × 12 in each, with fabric chalk.
- Cut carefully along your marks.
- Cut two lengths of ribbon or cord, 28 in each, for the drawstrings.
Step 2: Hem the Top Edges (Make the Casing)
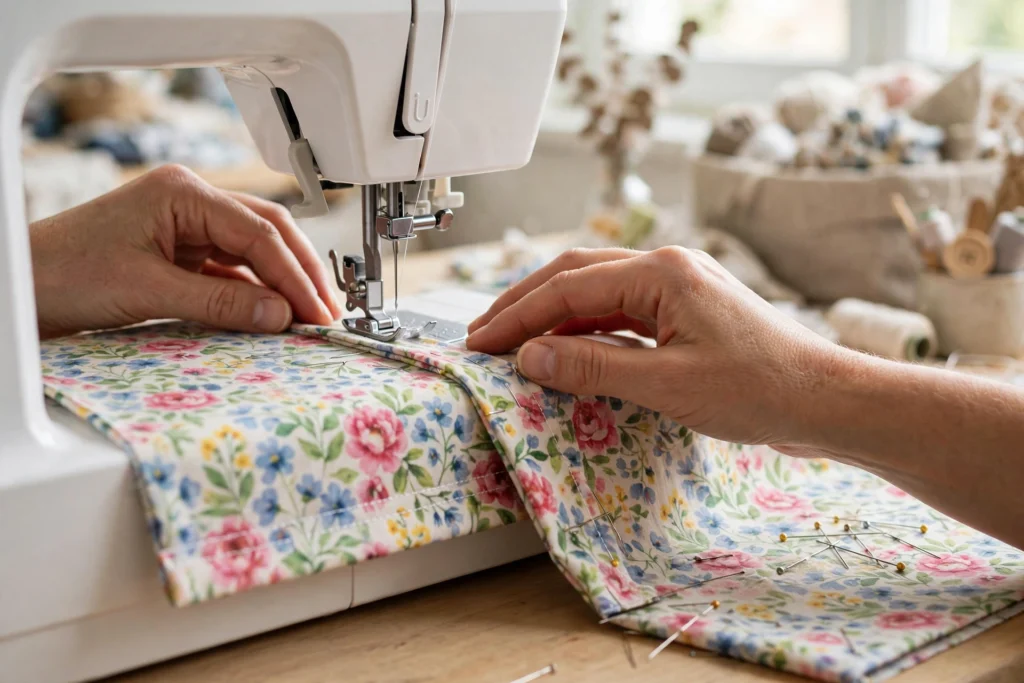
- Take one body piece. Fold the top edge down ½ in toward the wrong side and press.
- Fold down another 1½ in, press again, and pin — this wide fold is the channel your drawstring will slide through.
- Edgestitch along the lower fold.
- Repeat on the second body piece.
Step 3: Sew the Bag Together
- Place the two pieces right sides together, lining up the top casings.
- Pin down both sides and across the bottom.
- Sew with a ½ in seam allowance down one side, across the bottom, and up the other side. Backstitch at the start and end.
- Important: Do not sew across the casing — start and stop your stitching just below it on each side, so the drawstring channel stays open.
Step 4: Thread the Drawstring
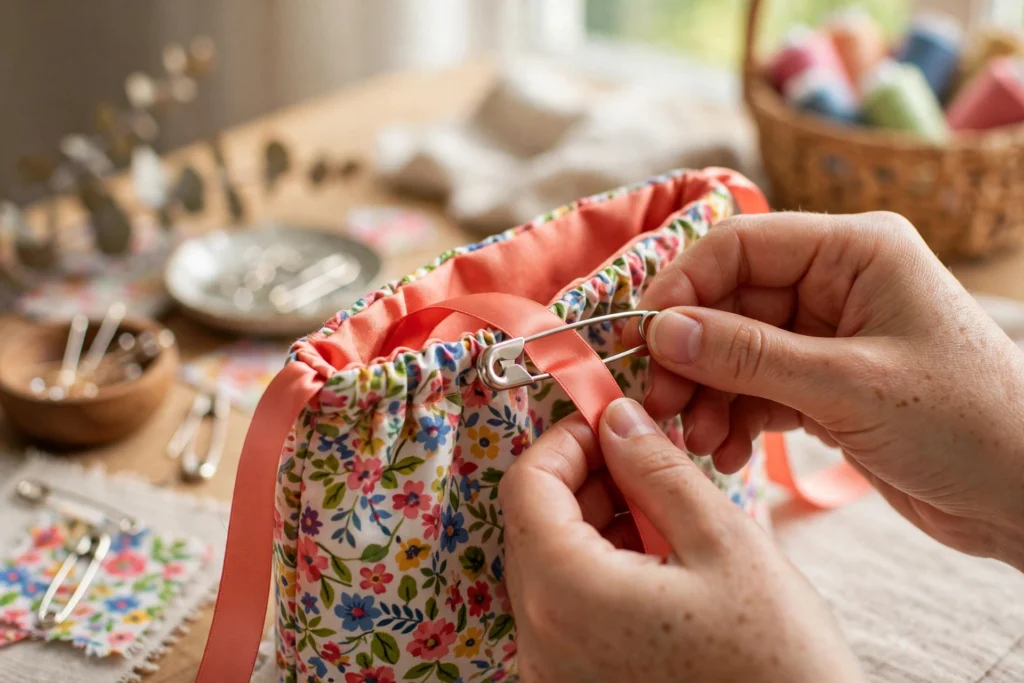
- Pin a large safety pin to one end of a ribbon.
- Feed it through the casing on one side, all the way around, and out the same side it entered.
- Repeat with the second ribbon, entering from the opposite side.
- Knot the two ribbon ends together on each side so they can’t pull back through.
- Turn the bag right side out and push out the corners.
Step 5: Final Press
- Give the bag a good press.
- Trim any loose threads.
Pull the drawstrings — your bag is finished!
Optional Customizations
- Make them in different sizes — tiny ones for jewelry, large ones for laundry.
- Use a contrast fabric for a two-tone bag (one print per side).
- Swap ribbon for cotton cord or twill tape for a sturdier look.
- Add a sewn-in label or a dab of embroidery on the front.
Time & Skill Level
- Time: 30–45 minutes
- Skill level: Beginner