
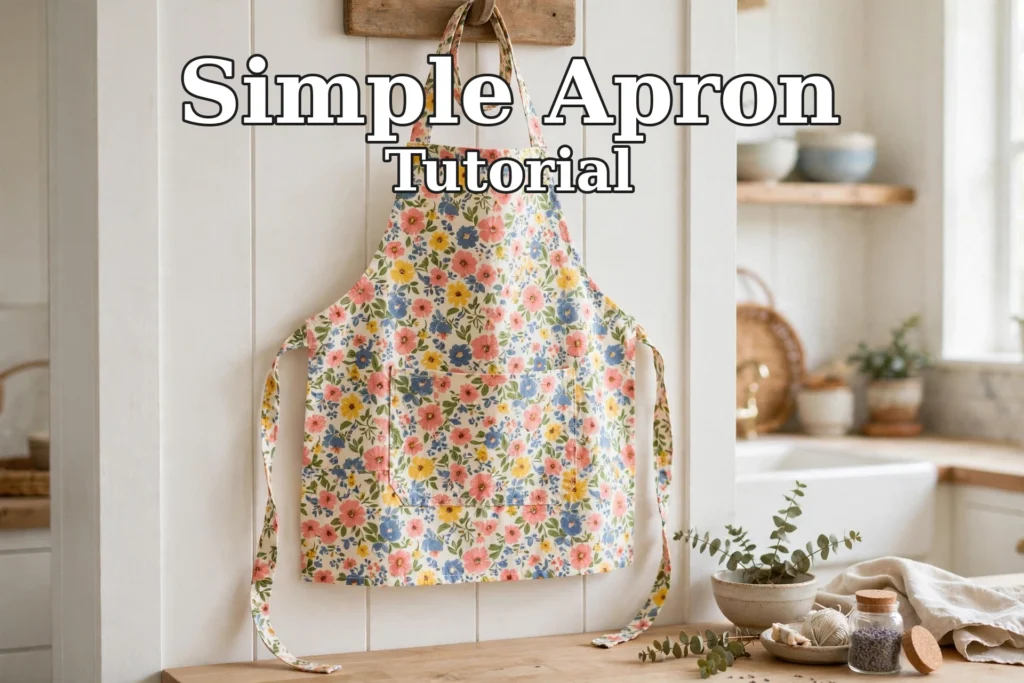
A handmade apron is one of the most satisfying beginner sewing projects — it’s quick, genuinely useful, and makes a wonderful gift. If you can sew a straight line, you can sew this apron.
Finished Size (Approximate)
- About 27 in wide × 32 in tall, with a 10 in × 7 in front pocket. One size fits most adults.
Materials & Supplies Needed
As an Amazon Associate I earn from qualifying purchases.
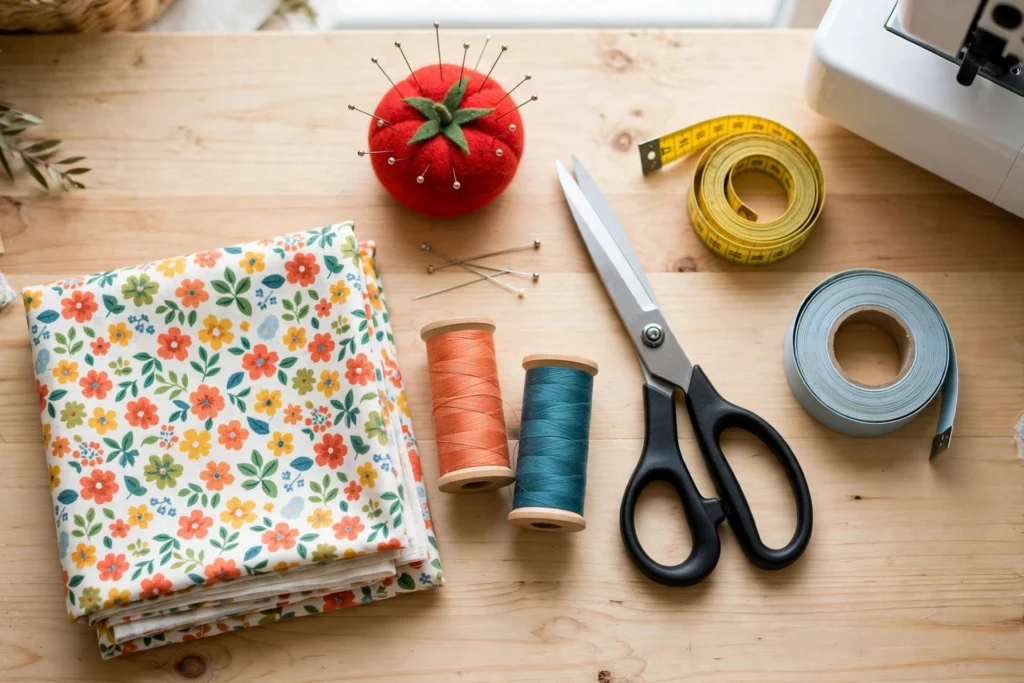
Fabric
- Cotton quilting fabric: 1½ yards (44 in wide)
(Cotton quilting fabric is ideal for beginners — it presses crisply and doesn’t slip under the needle.)
Cut List
- Main body: 1 piece, 28 in × 33 in
- Pocket: 1 piece, 11 in × 8 in
- Neck strap: 1 piece, 3 in × 24 in
- Waist ties: 2 pieces, 4 in × 32 in each
Thread & Notions
- All-purpose thread in a matching color
- Fabric scissors or rotary cutter
- Straight pins
- Measuring tape or ruler
- Fabric chalk or marker
- Seam ripper (optional, for fixing mistakes)
Sewing Machine Supplies
- Sewing machine
(A basic machine with a straight stitch is all you need for this project.) - Iron and ironing board
(Pressing as you go is the secret to crisp, professional-looking seams.)
Step-by-Step Instructions
Step 1: Cut Your Fabric
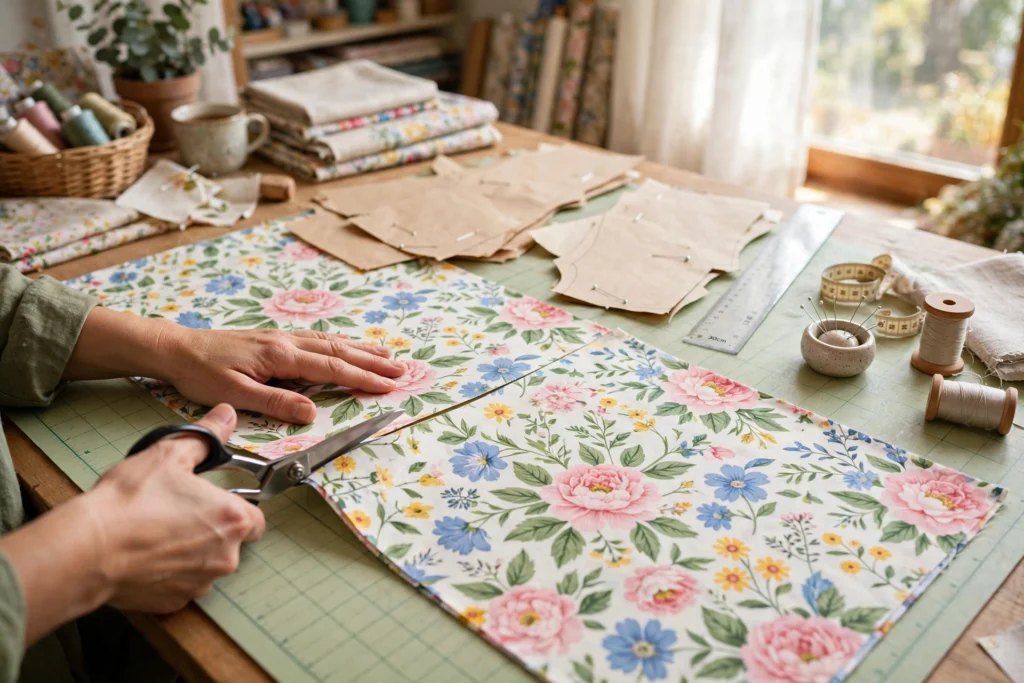
- Prewash, dry, and press your fabric so it won’t shrink later.
- Measure and mark each piece from the cut list above with fabric chalk.
- Cut carefully along your marks — clean cuts make everything easier.
Step 2: Hem the Sides
- Fold each long side edge of the main body under ¼ in toward the wrong side and press.
- Fold under another ¼ in, press again, and pin in place.
- Edgestitch along the inner fold on both sides.
Step 3: Hem the Top and Bottom
- Repeat the same double-fold hem on the top and bottom edges: fold ¼ in, press, fold ¼ in again, press, pin.
- Edgestitch along the inner folds.
Step 4: Make the Pocket
- Take the pocket piece and fold the top edge down ½ in toward the wrong side. Press.
- Fold down another ½ in, press again, and edgestitch — this finished edge is the pocket opening.
- Fold the remaining three sides under ¼ in and press.
Step 5: Attach the Pocket
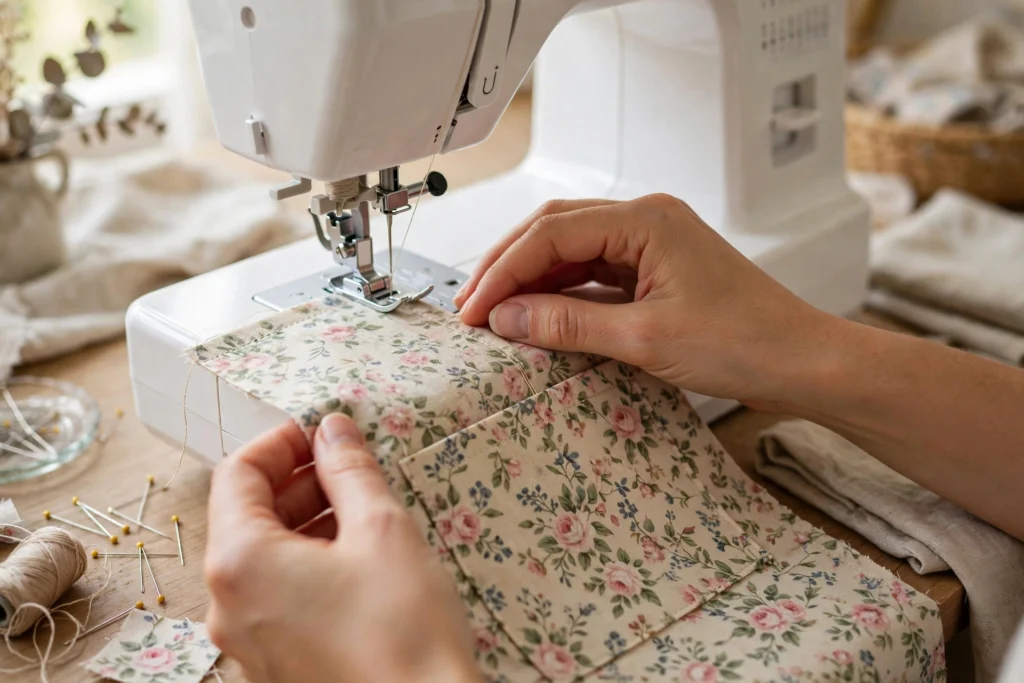
- Center the pocket on the apron front, about 10 in down from the top edge. Pin it in place.
- Edgestitch around the two sides and the bottom, leaving the top open.
- Important: Backstitch at the start and end of your stitching so the pocket holds up to daily use.
- Optional: sew one vertical line down the center of the pocket to divide it into two smaller pockets.
Step 6: Make the Neck Strap and Waist Ties
- For the neck strap and each waist tie: fold the strip in half lengthwise, right sides together, and press.
- Sew along the long raw edge with a ¼ in seam allowance.
- Turn each tube right side out (a safety pin pinned to one end makes this easy), then press flat.
- Tuck the raw short ends inside, press, and edgestitch them closed.
Step 7: Attach the Straps
- Pin the ends of the neck strap to the top corners of the apron, right sides together. Sew with a ½ in seam allowance, then press the seam up toward the strap.
- Pin one waist tie to each side edge at the waistline (about 18 in down from the top). Sew across each one, backstitching well — the ties take the most strain.
Step 8: Final Press
- Give the whole apron a good press, paying attention to the hems and straps.
- Trim any loose threads.
Tie it on — your apron is finished!
Optional Customizations
- Divide the pocket into two or three sections for tools, pens, or a phone.
- Use a contrast fabric for the pocket, straps, and ties.
- Add a ruffle along the bottom hem for a vintage look.
- Embroider a name or monogram on the bib for a personal gift.
Time & Skill Level
- Time: 1–2 hours
- Skill level: Beginner